How To Share An iTunes Library On Your Local Network
iTunes is a really great media management app that provides you with a number of features to organize the media content stored on your computer. One of the features in the app lets you share your media libraries with your friends on your local network.
What that means is you no longer need to get your media files out of your computer, put them in a portable drive, and give it to your friends for them to enjoy the content. With iTunes local media sharing, all of that hassle is eliminated and you can share your an iTunes Library with the click of a few buttons.
What Exactly Is iTunes Library Sharing?
It’s good that you asked. iTunes library sharing is an option you’ll find in the iTunes app on both Windows PC and Mac machines (although iTunes on Mac will shortly be phased out with MacOS Catalina). This feature allows you to share the existing content you have in the app with other users that are on the same network as you.
Basically, you enable an option in the app that turns on media sharing and lets other users using the iTunes app to get access to your music and video files. This should work for both wired and wireless networks and there isn’t any physical equipment you need to get it up and running.
Are There Any Restrictions?
Music that you buy from iTunes, or any other similar service for that matter, usually carries legal restrictions. However, sharing an iTunes library is a legal way to share your content because of the way it works.
- Both the computer you’re sharing the content from and the computer receiving the content should be on the same local network. If they aren’t, you won’t see any shared content.
- Both computers should have the iTunes app installed. Get it for your Windows PC or Mac if you don’t already have it.
- The receiving computer can’t import or copy the content and they can only stream it.
How To Share an iTunes Library From Your Computer
It’s extremely easy to set the feature up as all it requires you to do is connect both your machines to the same local network, enable an option in the app, and you’re good to go.
The following steps are performed on a Windows machine. Steps for a Mac machine should be similar so you won’t have any issues.
Launch the iTunes app using your preferred way on your computer.
When the app launches, click on the option that says Edit at the top and select Preferences. It’ll open the iTunes settings menu.![]()
You should be in the General tab by default. On this screen, you’ll find the name of your library next to the Library Name field. You can edit this name if you want as this is what’s going to appear on the receiving computer.![]()
Once you’ve changed or left the library name as is, click on the tab that says Sharing at the top. This is where you get multiple options to share your iTunes library.
Checkmark the box that says Share my library on my local network and you’ll activate the two options beneath it. Here’s what each of those two options does.
Share entire library – as the name implies, this option lets you share your entire media library on your local network. Only choose this if you’re comfortable with all of your iTunes content being available on another computer.
Share selected playlists – this option lets you only share the chosen and specific playlists on your network. You can manually select the playlists you want to share in the provided list.
Require password – this lets you add a layer of security to your content sharing. You can specify a password here that the receiving computer will need to enter before they can access your content. It’s up to you if you’d like to use this option.
Finally, click on OK to save the changes.
Your iTunes media library has been successfully shared on your local network. It’s now the time for the other computers on your network to access your files.
Accessing iTunes Shared Content
Streaming the content you’ve shared from your computer on another computer on the same network only requires the iTunes app.
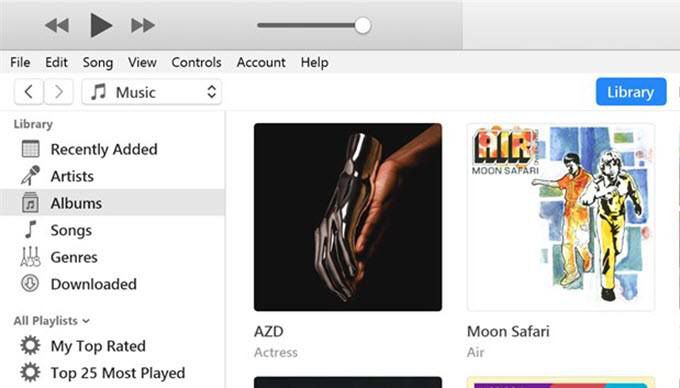
Grab the latest version of the app, open it, and you’ll see the shared library in the left sidebar. If the sidebar isn’t visible by default, click on the View menu at the top and select Show Sidebar.
How To Disable iTunes Library Sharing
If you’d like to turn off media sharing at any point of time, you can do so from within the iTunes app.![]()
- Launch the iTunes app, click on Edit, and select Preferences.
- Open the Sharing tab and untick the Share my library on my local network option.
How To Fix Connection Related Issues
Sometimes due to firewall restrictions, the receiving computer might not be able to access your library in the first go. However, you can change an option in your firewall settings so that iTunes can receive incoming connections from other computers.
If you’re on a Windows machine, follow the following steps to allow iTunes to make incoming and outgoing connections even when the firewall is enabled.
Press the Windows key and search for and click on Control Panel to launch the panel.
Ensure you’re viewing the panel in either large or small icons mode. Then find and click on the option that says Windows Defender Firewall to open your firewall settings.
On the following screen, click on Allow an app or feature through Windows Defender Wireless in the left sidebar.![]()
Select iTunes from the list, checkmark both the boxes next to it, and then click on the OK button at the bottom.![]()
iTunes is now allowed to make connections in your firewall and the receiving computer will have no issues getting access to your shared iTunes library.