How To Check Your Hard Drive for Errors on Windows 10
In this article, we are going to share the best method to scan a Hard drive using the error-checking utility of Windows 10. You can do the same method via CMD, but the process which we are going to share below is much easy to implement.
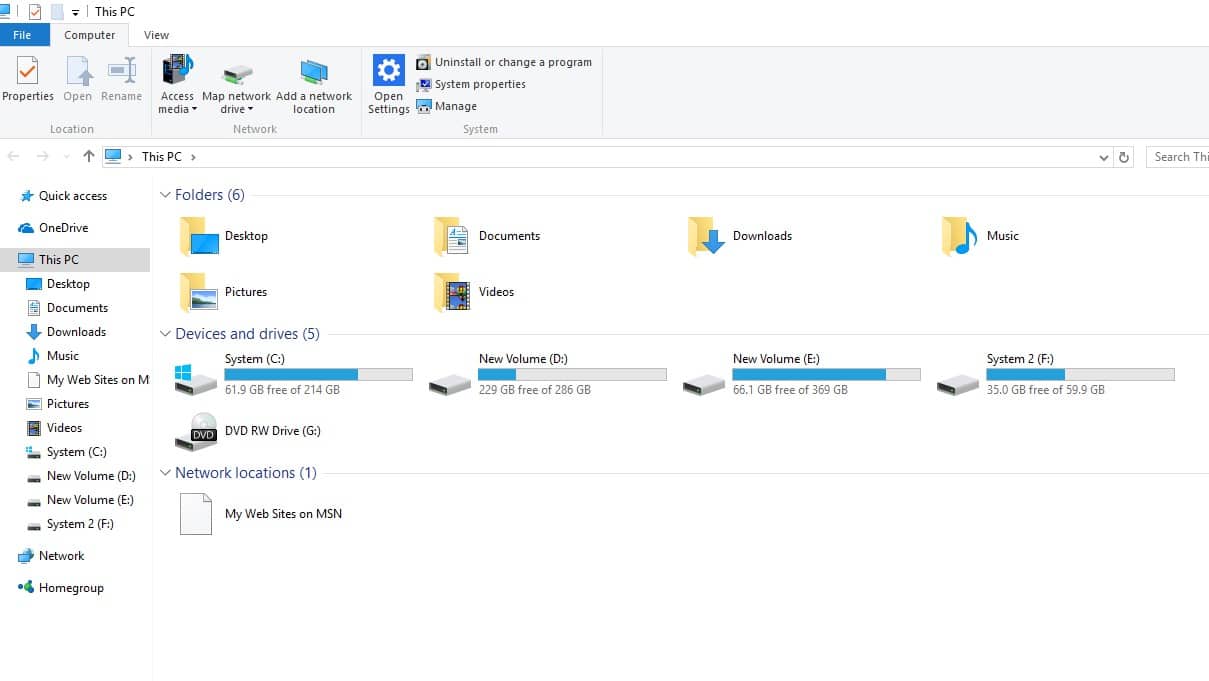
Step 1. First of all, open File Explorer on your Windows 10.
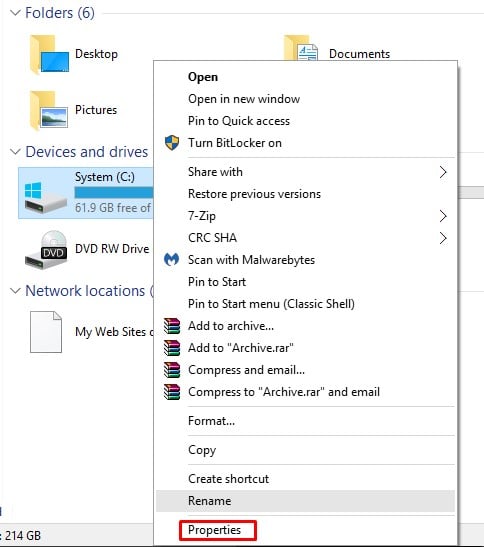
Step 2. Next, right-click on the drive that you want to check for errors and select ‘Properties.’
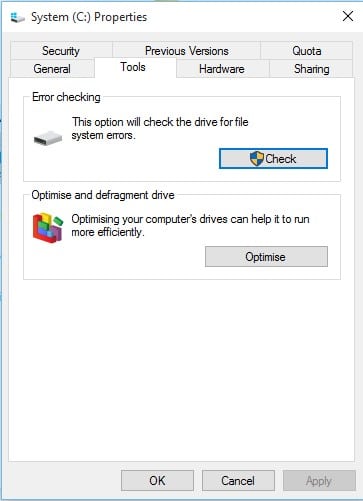
Step 3. Now select the ‘Tools’ tab.
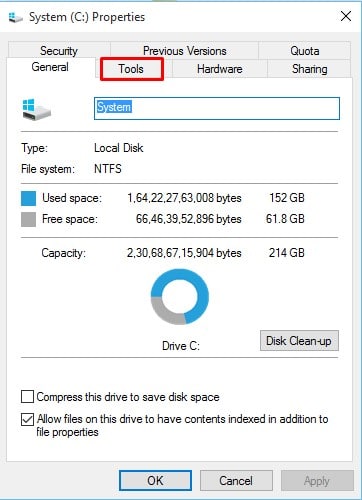
Step 4. On the Tools tab, you will find two options – Error checking & optimize and defragment the drive.
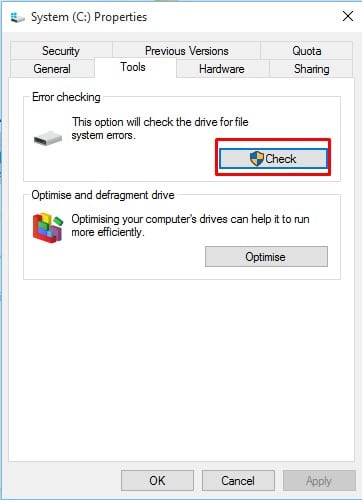
Step 5. You need to click on the ‘Check’ button under the ‘Error checking’ box.
Step 6. Now you will see a pop-up window. There you need to click on the ‘Scan Drive’ option.

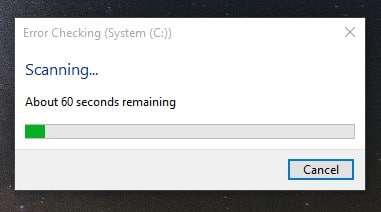
Step 7. Wait for few seconds until the scan completes.
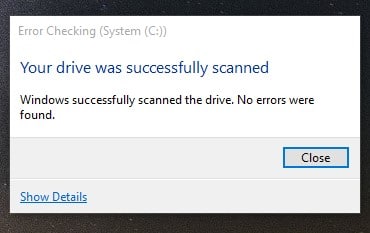
Step 8. Once done, you will get the disk report. If your hard disk drive has errors, you need to follow whatever advice is given after the scan.
That’s it! You are done. This is how you can scan a hard drive using the error-checking utility of Windows 10.
So, this article is all about how to scan a hard drive using an error-checking utility on Windows 10. I hope this article helped you! Share it with your friends also.